
How to transcribe a video to text on Mac and iPhone
Get text out of an MP4 or MOV: importing video, batch transcribing a folder on Mac, exporting SRT or VTT captions, and how it compares with auto-captions.
A video file is an audio file with pictures attached, and transcription only needs the audio. This guide takes an MP4 or MOV you already have, turns it into a transcript on your Mac or iPhone without uploading it, and ends with a caption file you can put back on the video. It also covers the batch case, a folder of lecture recordings or client videos, and the honest comparison with the automatic captions a video platform generates for you.
What happens to a video when you transcribe it
Speech recognition reads the audio track. When you import an MP4 or MOV, ThinkScribe takes the audio out of the file, transcribes it on the device, and keeps its own copy of that audio so you can play any line back. The picture is not stored, and your original file is not moved or changed.
Two consequences worth knowing before you start:
- Only what is spoken becomes text. Slides, a whiteboard, an on-screen name card, a chart someone points at: none of that reaches the transcript. If the meaning of a video lives in the picture, you will need to add that context yourself.
- The timings are the video's timings, as long as you transcribe the same file you will caption. Transcribe the master, not a trimmed export, and the SRT you produce will line up when you drop it back on the video. Trim after transcribing and every timestamp shifts.
Which video files work
MP4 and MOV import directly on Mac, iPhone and iPad. That covers most of what you actually have: iPhone recordings from Photos, QuickTime and Mac screen recordings, exports from a video editor, downloaded webinars, and files from a camera or a conferencing app. Audio files import alongside them: MP3, M4A, AAC, WAV, AIFF, FLAC, CAF, OGG and Opus.
For anything else, MKV, AVI, WebM, or an old container from a camcorder, pull the audio out first with ffmpeg, which is free and does the job in one command:
ffmpeg -i input.mkv -vn -c:a aac output.m4a
-vn tells ffmpeg to drop the video, and -c:a aac writes an M4A that imports directly. If you want the smallest possible file for a long recording, add -ac 1 -b:a 64k to make it mono at a lower bitrate; speech survives that comfortably.
Transcribe a video on Mac
- Open ThinkScribe and drag the video from Finder onto the record bar at the top of the window, or onto the empty library area, where the drop target reads Drop to import. You can also choose Transcription > Import File… or press Command-I and pick the file.
- The file joins the queue and transcription starts on your Mac. Progress shows on the row in the library.
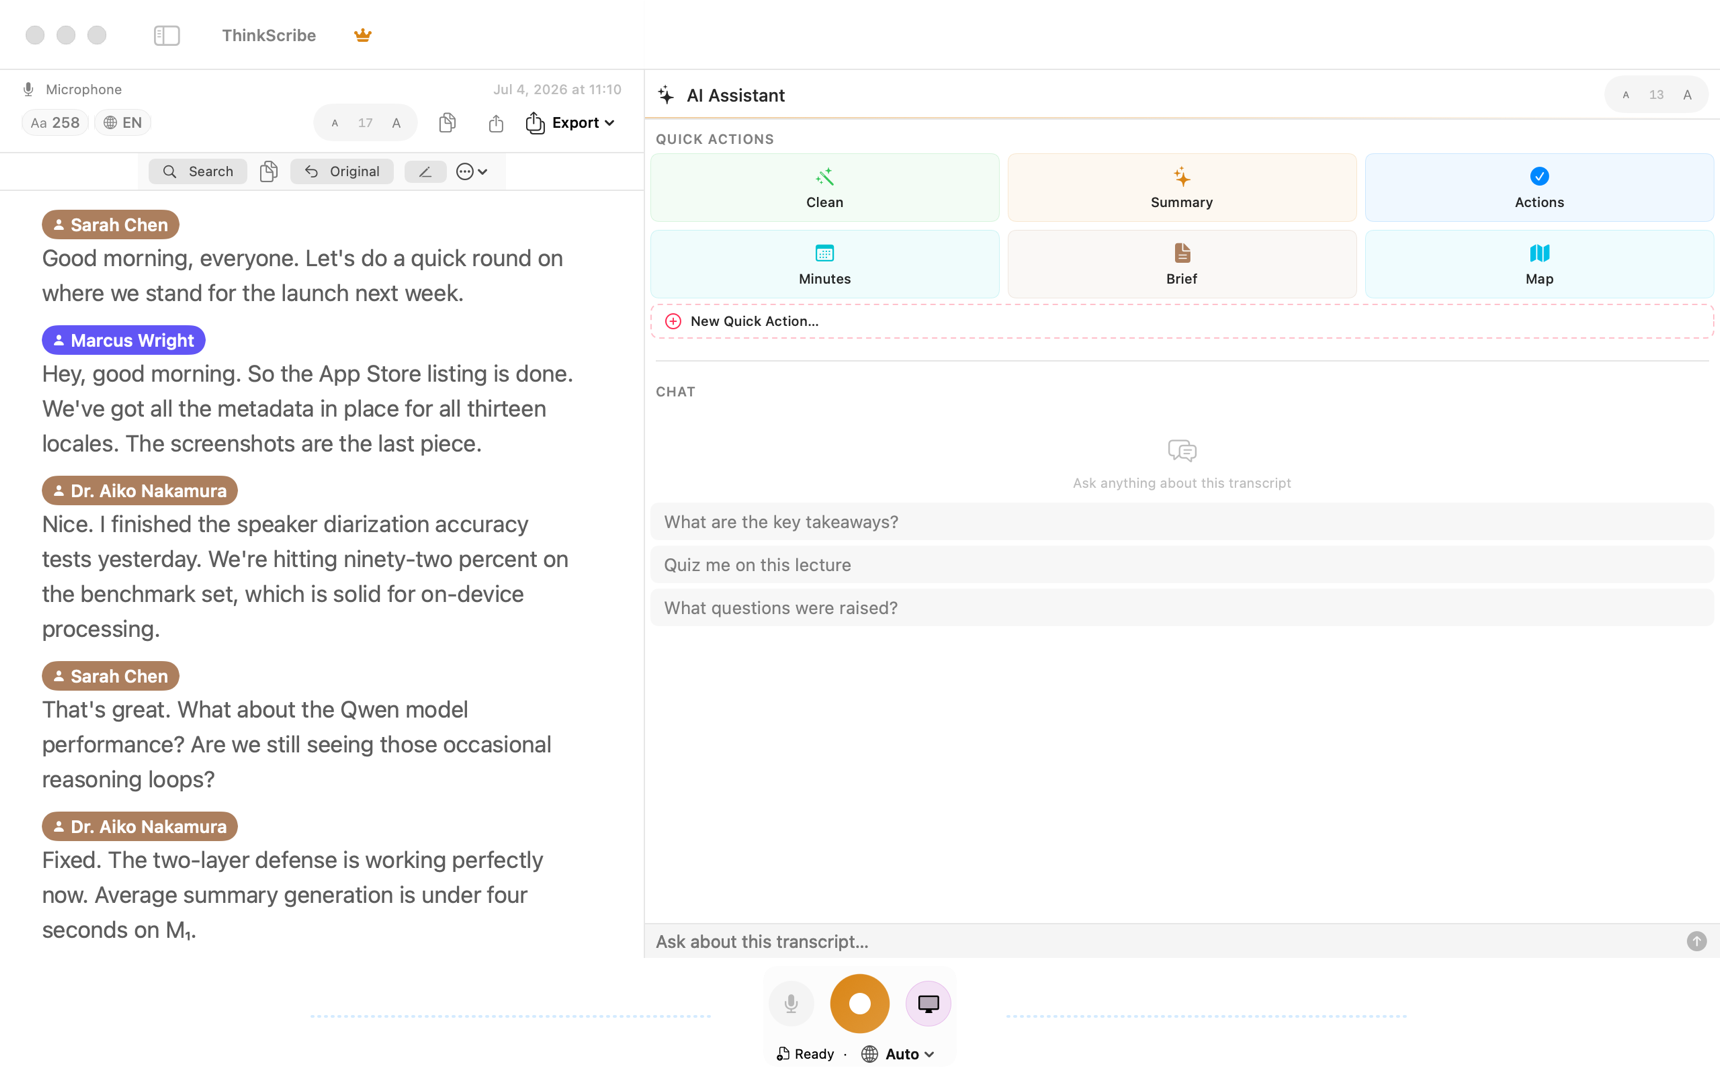
- When it finishes, open the transcript. Click any word to play the audio from that moment, with the current word highlighted as it plays.
Speakers are separated automatically, so an interview or a panel arrives already split, and you can click a speaker badge to give it a real name that sticks for future files. See teach ThinkScribe who is speaking. The Clean toggle at the top hides filler words while you read, without touching the original.
Transcribe a video on iPhone or iPad
- In Photos, Files, or any app holding the video, tap the Share button and choose ThinkScribe. It confirms Added to ThinkScribe.
- Open ThinkScribe. The file transcribes in the background; the Lock Screen shows progress, so you can put the phone down.
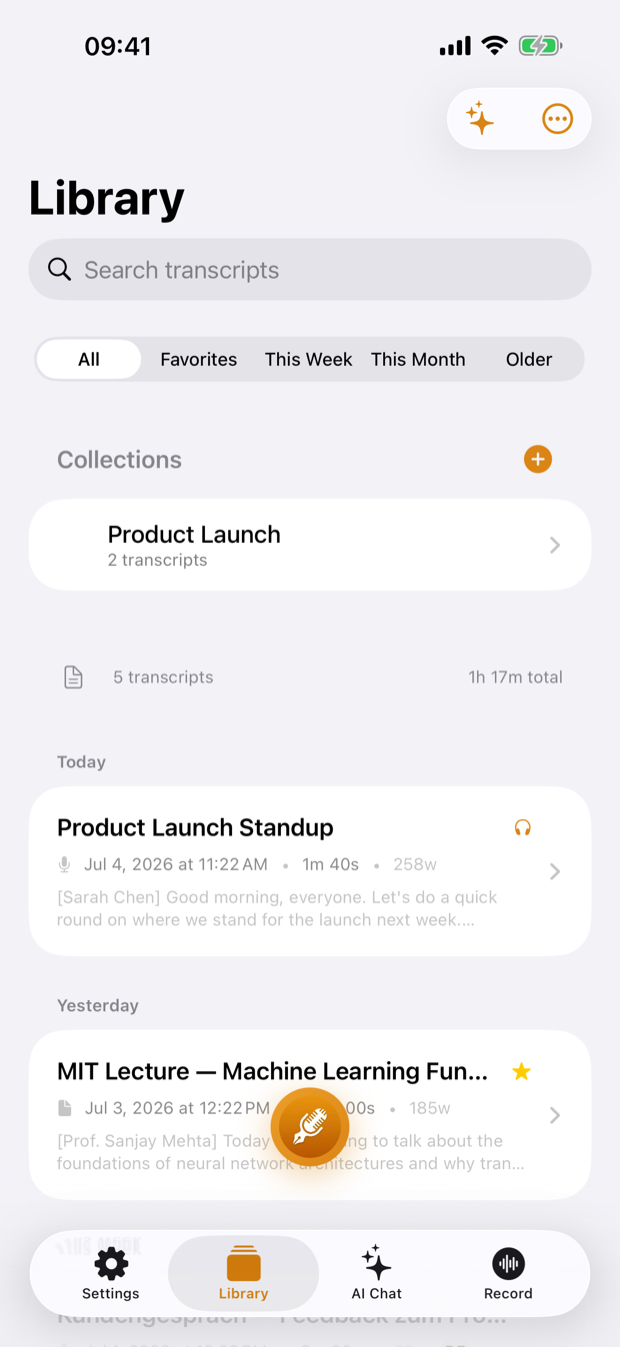
- The transcript lands in the Library with the same word-level playback, speaker separation and AI tools as anything you record.
You can also start from inside the app: on the Record tab, tap Import Audio File and pick the video from Files.
Batch: a folder of videos on Mac
This is where the desktop earns its keep. Select several files in the Command-I dialog, or drag a handful from Finder onto the record bar at once. They queue and process one after another while you do something else.
Pair that with automatic export and a folder of raw footage turns into a folder of documents with no further clicks:
- Open Settings > Transcription.
- Under Auto-Export, turn on Auto-Export After Transcription.
- Choose the format, SRT if you are captioning, Markdown if the transcripts are going into notes, Word if a client wants documents.
- Click Choose… and pick the destination folder.
Every finished transcript is written there in that format as it completes. Drop twenty conference talks in before lunch and come back to twenty subtitle files. The export guide covers the other formats and the collection export, which hands over a whole project at once.
Get captions back onto the video
Export from a finished transcript and you have a caption file in seconds, so the round trip to transcribe video to text and export captions is one import and one export.
- Mac: click Export in the toolbar and choose SRT Subtitles or VTT Subtitles.
- iPhone: tap ⋯, then Export as, then the format. The file goes to the share sheet, so you can save it to Files or AirDrop it to a Mac.
Then pick the route that suits where the video is going:
- A media player: put the
.srtnext to the video with the same base filename,talk.mp4andtalk.srt, in the same folder. Most desktop players pick it up automatically, and you can also open it from the player's subtitle menu. - A video editor: Final Cut Pro, Premiere Pro, DaVinci Resolve and iMovie-adjacent tools all import SRT as a caption track, which you can then restyle and nudge without retyping anything.
- The web: VTT is the format the HTML
<track>element expects, so it is the one to use for a video on your own site. - A video platform: uploading your own subtitle file is almost always an option and is better than the automatic one, because you have already checked the names and the numbers.
- Burned in: if the destination will not accept a separate file, ffmpeg can render the captions into the picture:
ffmpeg -i video.mp4 -vf subtitles=video.srt output.mp4
Keep the SRT either way. Burned-in captions cannot be switched off, corrected or restyled later; a sidecar file can. Captions are also the thing that makes a video usable for deaf and hard of hearing viewers, which is worth a read-through rather than a glance: see live captions and transcripts as an accessibility tool. The SRT subtitles guide goes deeper on the format itself, on fixing a fixed offset, and on line-length conventions.
Platform auto-captions, or your own transcript?
Video platforms generate captions for you, free, and for a public video that nobody will quote, they are often good enough. The trade-offs are real in both directions.
Auto-captions from a platform are better when the video is already uploaded, you do not need the text anywhere else, and nobody will be reading the transcript as a document.
Doing it yourself is better when:
- The video is not published yet. Auto-captions arrive after upload and processing. A local transcript exists before anyone sees the video, which matters if you are writing the description, the chapters or the blog post from it. For a recorded show, that is the same job as turning an episode into show notes and chapters.
- The content is confidential. An unlisted upload is still an upload. Client footage, internal all-hands recordings, unpublished research and anything under an NDA never has to leave your machine at all. The on-device versus cloud comparison sets out what that distinction actually covers.
- You need the text, not just captions. A platform gives you captions on that platform. A transcript gives you TXT, Markdown, PDF, Word, JSON, SRT and VTT, plus a searchable library and one-tap summaries or action items generated on the device.
- There are several speakers. Automatic captions rarely label who is talking. A transcript with named speakers reads like a document instead of a wall of text.
- You are working offline. No connection, no upload, no wait.
- The video will never be uploaded anywhere. Plenty of video, a deposition recording, a lecture capture, a family archive, has no platform in the story at all.
Video you cannot download
Transcription needs a file. There is no route from a link on a video site straight to text, and the terms of service of most platforms restrict downloading in the first place.
Two legitimate ways round it: download the file when the platform provides that option, which many lecture and webinar systems do for their own recordings, or, on a Mac, record the playback with the System audio toggle on, which captures whatever your Mac is playing. That is also the route for a live webinar with no recording feature. See record a call or a video on Mac.
Frequently asked questions
Can I transcribe a video without converting it to audio first?
Yes. MP4 and MOV import directly on Mac, iPhone and iPad, and the audio track is read out of the file for you. Conversion is only needed for containers outside that list, such as MKV, AVI or WebM, where one ffmpeg command extracts an M4A you can import.
Does transcribing a video upload it anywhere?
No. Transcription, speaker separation and summaries run on your Mac or iPhone, so the video and its audio stay on the device. The only network use is the one-time download of the optional speech and AI models.
How do I get subtitles from a video file?
Import the video, wait for the transcript, check any names or numbers by clicking a line to hear it, then export SRT or VTT. Put the SRT next to the video with the same filename for a media player, import it into your video editor as a caption track, or use VTT for a video on a web page.
Can I transcribe a screen recording?
Yes. Mac screen recordings and iPhone screen recordings are MOV or MP4 files and import like any other video. Only the spoken audio becomes text; whatever was on screen does not, so a silent screen recording produces an empty transcript.