To translate a voice recording, do it in two steps: first get an accurate transcript in the language that was spoken, then translate that text. In ThinkScribe you record or import the audio, let it transcribe, open the transcript's "..." menu, choose Translate and pick a language. The translation stays with the transcript, so you can switch between it and the original, export subtitles in both languages or share just the translated text.
This order matters. A translation can only be as good as the transcript under it. If a German interview is transcribed as German first, names and sentences come out right, and the English version follows from clean text. If you skip that step, errors in the source become errors in the translation.
This guide covers translating a finished recording, translating live while you record, bilingual subtitles, and the habits that make translations more accurate.
How to translate a voice recording in ThinkScribe
- On the Record tab, tap the language chip and pick the language that will be spoken (for example German or Japanese). If you already have a file, check the language chip first, then tap Import Audio File.
- Record, then tap Stop. The transcript is made after you stop, in the spoken language.
- Open the transcript and tap the "..." menu.
- Choose Translate and, under Translate Into, pick the language you want, for example English.
- If the language needs it, allow the one-time download of the translation language from Apple. After that it is ready whenever you need it.
- Read the result. Use Show Original to see the source text again and Show Translation to return to the translated text.
- To send it on, use Share Translation, or export subtitles in both languages (see below). If you no longer need it, Remove Translation takes it off the transcript.
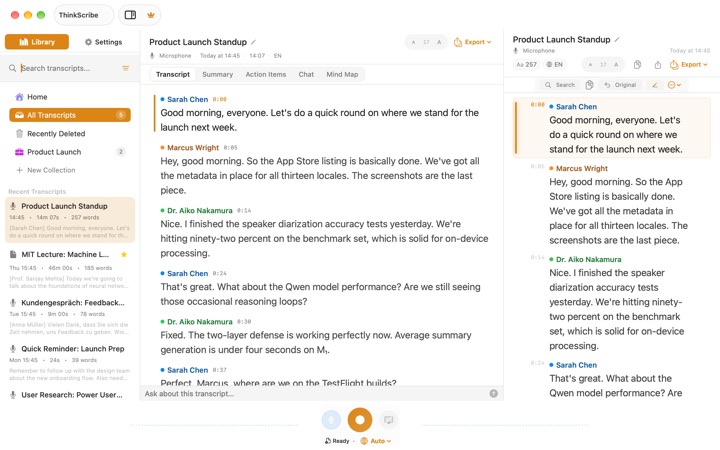
On a Mac, open the transcript in the workspace and use the same Translate menu. There it has Copy Translation where iPhone has Share Translation.
Where the translation comes from
ThinkScribe transcribes your recording on your device, and your recordings and transcripts are never sent to us. The translation step uses Apple's Translation, provided by Apple. That is why some languages need a one-time download the first time you use them: the language is fetched from Apple, not from us.
Translate is a Pro feature with its own free uses, so you can try it on a real recording. Viewing a translation you already made is free.
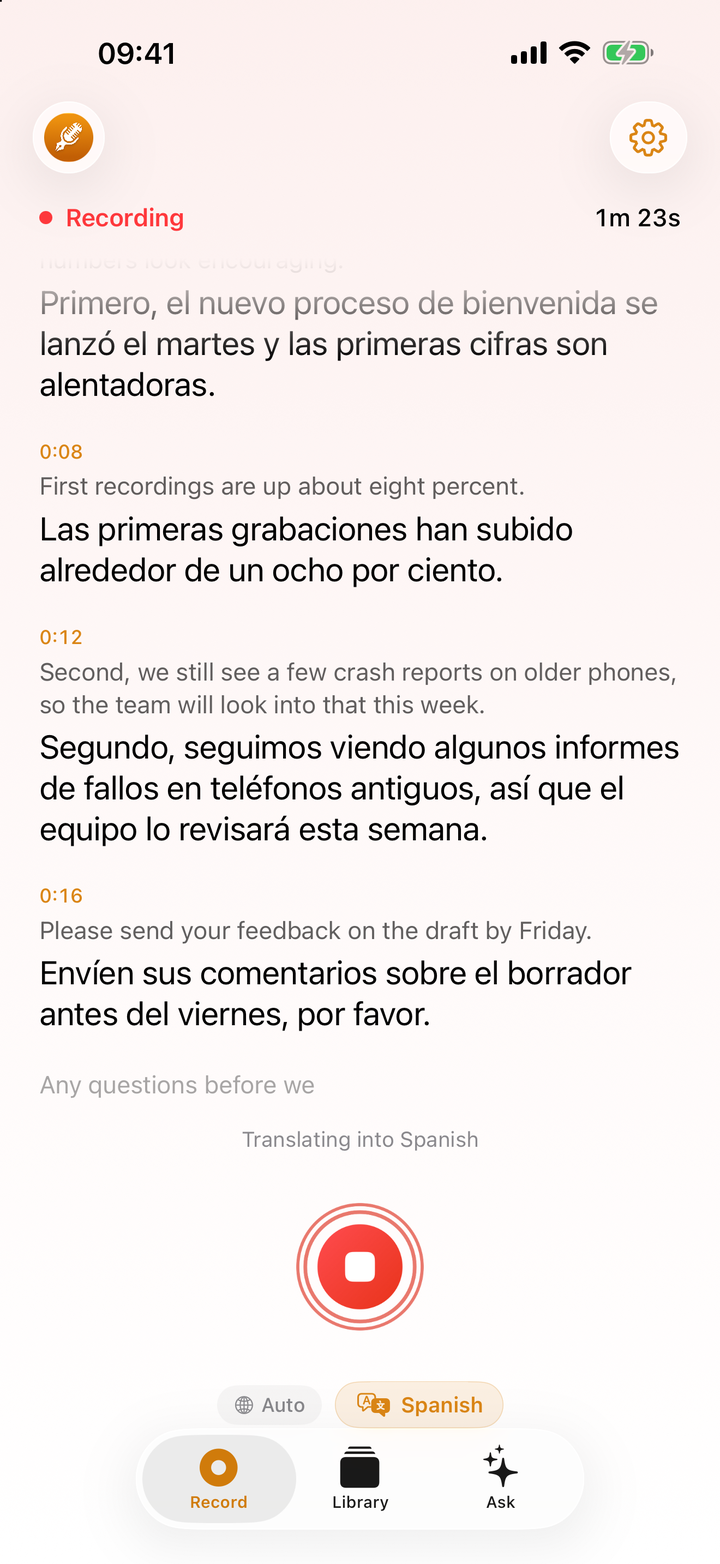
Translate live while you record
Sometimes you want to follow along in your own language while someone is still talking: a guest speaker, a relative telling a story, a meeting with a colleague from another office.
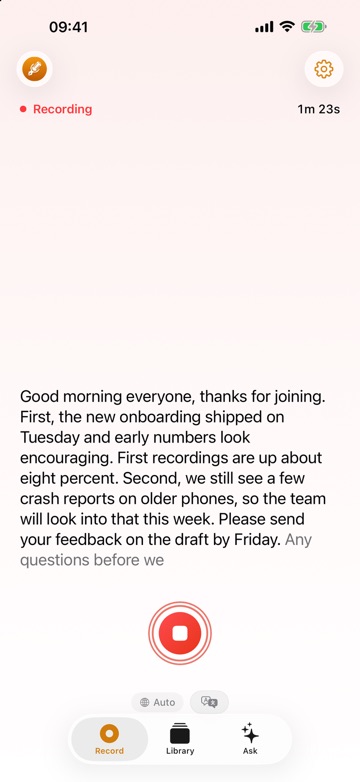
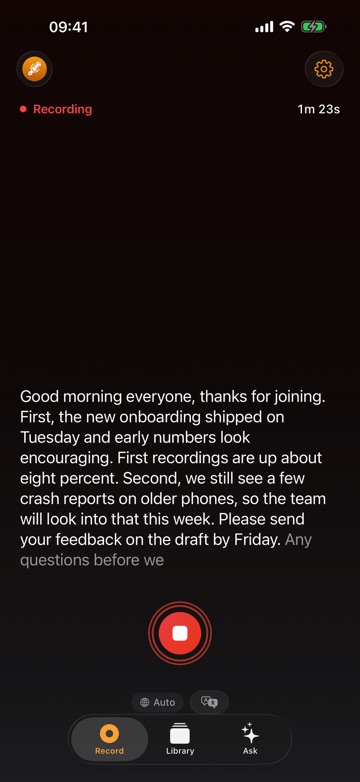
- On the Record tab, tap the translate icon next to the language chip.
- Under Translate Live, pick the language you want to read.
- Start recording. Words appear on screen as they are spoken, with a live translation you can follow.
Some target languages need a one-time download from Apple here too. Download it before the conversation starts, not in the middle of it.
Live translation is for following along. For a translation you can keep, share and export, translate the finished transcript after you stop, as in the steps above. Live text also pauses while ThinkScribe is in the background (the recording continues), so keep the app on screen if you are reading along.
Export subtitles in both languages
Translated transcripts can be exported as subtitle files that carry both languages: Subtitles in Both Languages (SRT) and Subtitles in Both Languages (VTT). The subtitles keep the timing from the recording and carry both the original and the translation. For the translation alone, for example English subtitles on a Spanish talk, choose Translated Subtitles (SRT) or Translated Subtitles (VTT).
That is useful for:
- Video for a mixed audience. A talk recorded in Spanish can go online with Spanish and English on screen at the same time.
- Interview review. A journalist or researcher can check the original wording and the translation side by side, line by line, with the timestamp.
- Language learning. Watching a clip with both languages on screen links what you hear to what it means.
SRT is the most widely supported format for video editors and players. VTT is the usual choice for video on the web. If subtitles are your main goal, our guide on creating SRT subtitles from audio on a Mac explains timing, line length and how to bring the file into an editor.
Tips for a more accurate translation
Set the source language first. This is the single biggest factor. Tap the language chip before you record and choose the language that will actually be spoken. Use Auto-detect only when it is offered and you genuinely do not know. A recording transcribed in the wrong language produces a transcript that no translation can rescue.
Teach it names and terms. Add names, places and specialist words to the Custom Dictionary (iPhone: Settings > Advanced > Custom Dictionary; Mac: Settings > Vocabulary). A correctly spelled name in the transcript stays correct in the translation.
Record clean audio. Put the phone close to the person speaking, away from music and clattering cups. Fewer misheard words mean fewer mistranslated ones.
Read numbers, dates and names twice. Machine translation is good at ordinary sentences and weaker at figures, idioms and anything ambiguous. Before you rely on a translated quote, check it against the original with Show Original and listen to the line (tap a line in the transcript to play from there).
Get a human review when it matters. For contracts, medical information, official documents or anything published under your name, treat the machine translation as a working draft and have a fluent speaker review it.
Who uses transcript translation
- Travelers and families. Record a conversation with relatives abroad, then read it back in your own language later.
- Students. Record a lecture given in the local language and translate the transcript to review difficult parts in your first language.
- Researchers and journalists. Interview in the source language, translate for your notes, and keep the original for accurate quoting.
- Language learners. Record yourself speaking, then compare your transcript and its translation with what you meant to say.
ThinkScribe can transcribe 28 languages. For everything else about turning speech into text, read the complete voice to text guide, or see how ThinkScribe handles audio to text transcription.
Frequently asked questions
How do I translate an audio transcript to English?
Transcribe the recording in ThinkScribe in the language that was spoken, then open the transcript's "..." menu, choose Translate and pick English. Use Show Original and Show Translation to switch between the two. Some languages need a one-time download from Apple the first time.
Can I translate a voice recording I already have?
Yes. Check the language chip, tap Import Audio File on the Record tab (on a Mac, use Import File... with ⌘I), and let ThinkScribe transcribe it. Then choose Translate from the transcript's "..." menu and pick a language, exactly as for a new recording.
Can I get subtitles in two languages?
Yes. After translating a transcript, export Subtitles in Both Languages as SRT or VTT, or Translated Subtitles for the translation alone. The file keeps the recording's timing and carries both languages, which works for video players, editors and web video.
Can ThinkScribe translate while I am recording?
Yes. Tap the translate icon next to the language chip on the Record tab and pick a language under Translate Live. You see the live text translated as people speak. For a translation you can export and share, translate the finished transcript after you stop.
Who does the translation?
Translation uses Apple's Translation, provided by Apple, which is why some languages need a one-time download. The transcription itself happens on your device, ThinkScribe needs no account, and your recordings and transcripts are never sent to us.