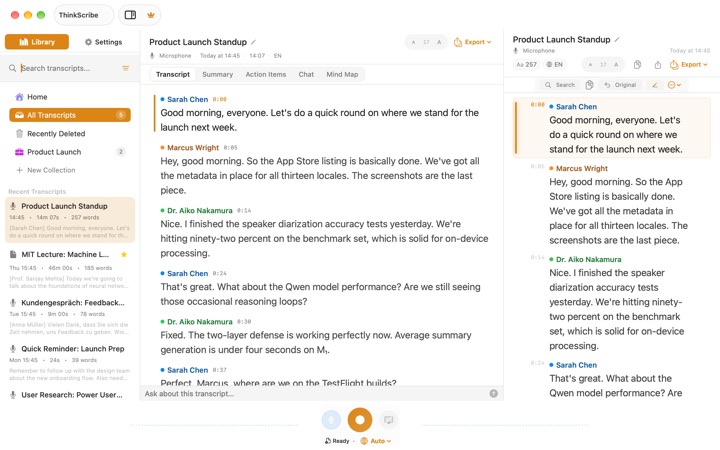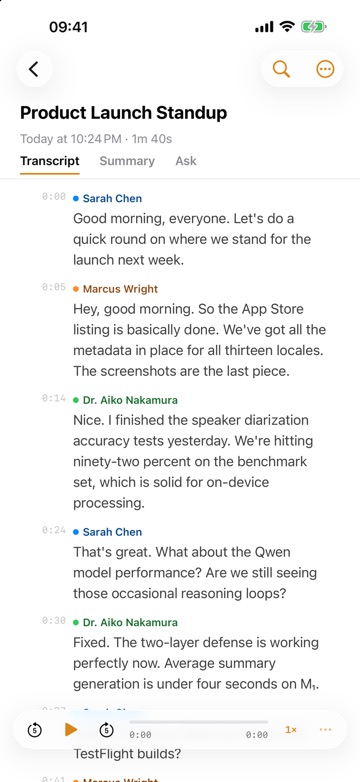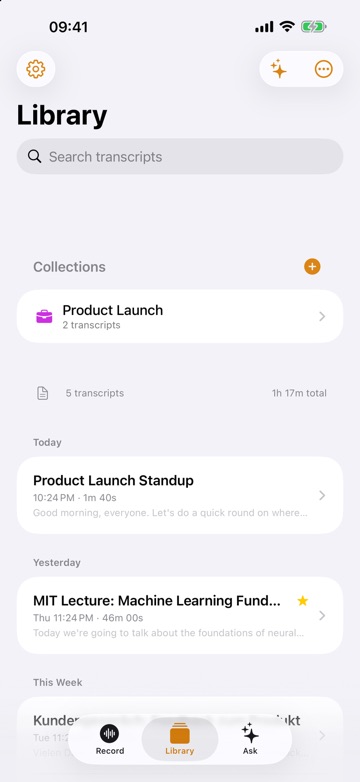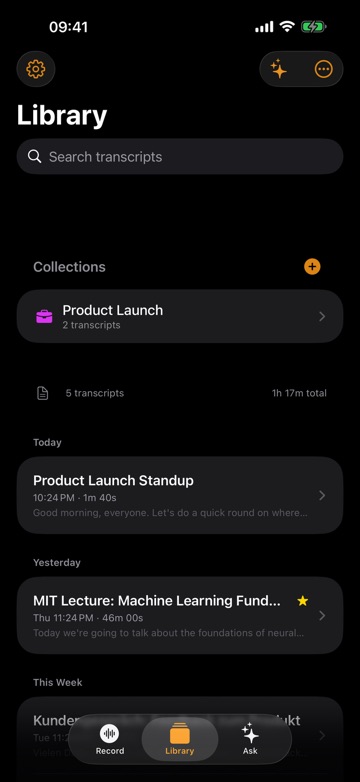
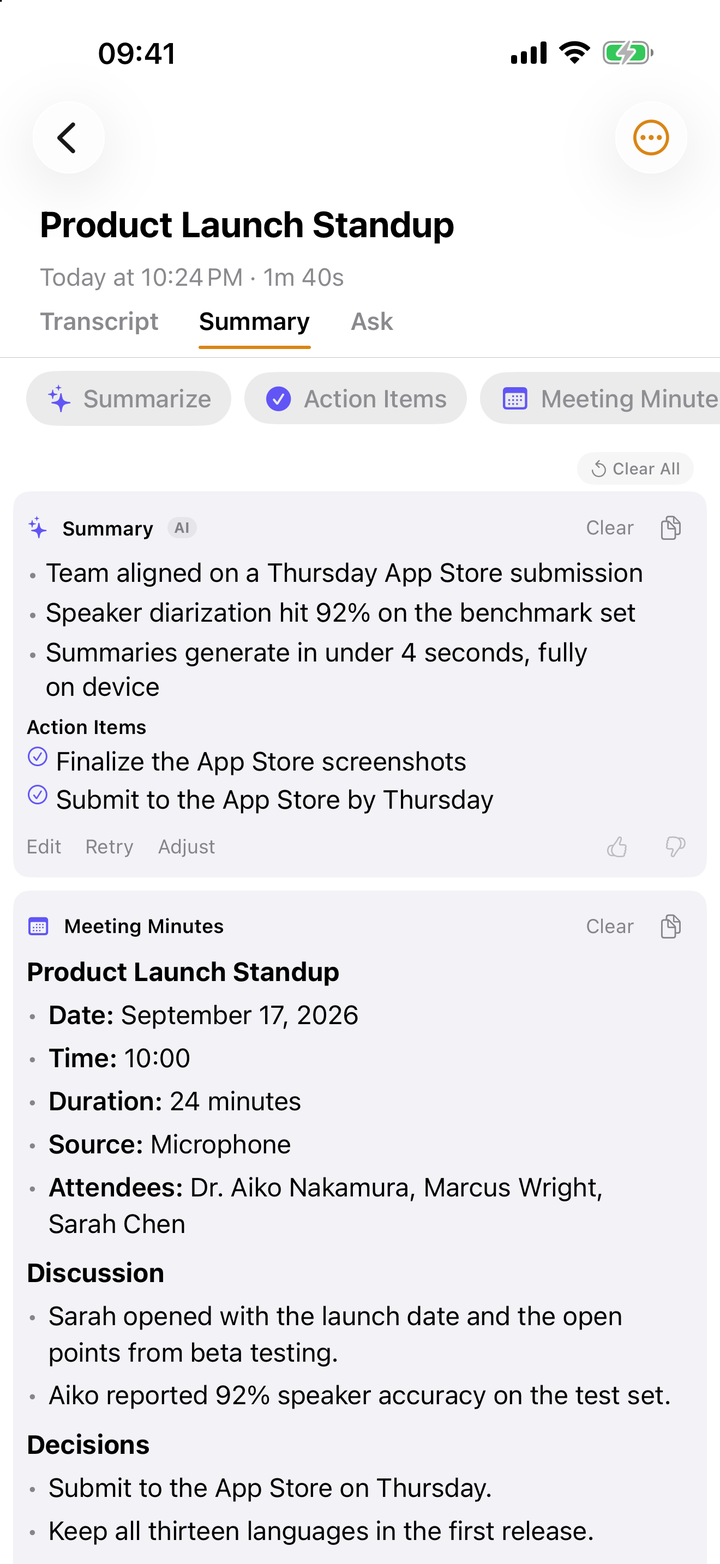
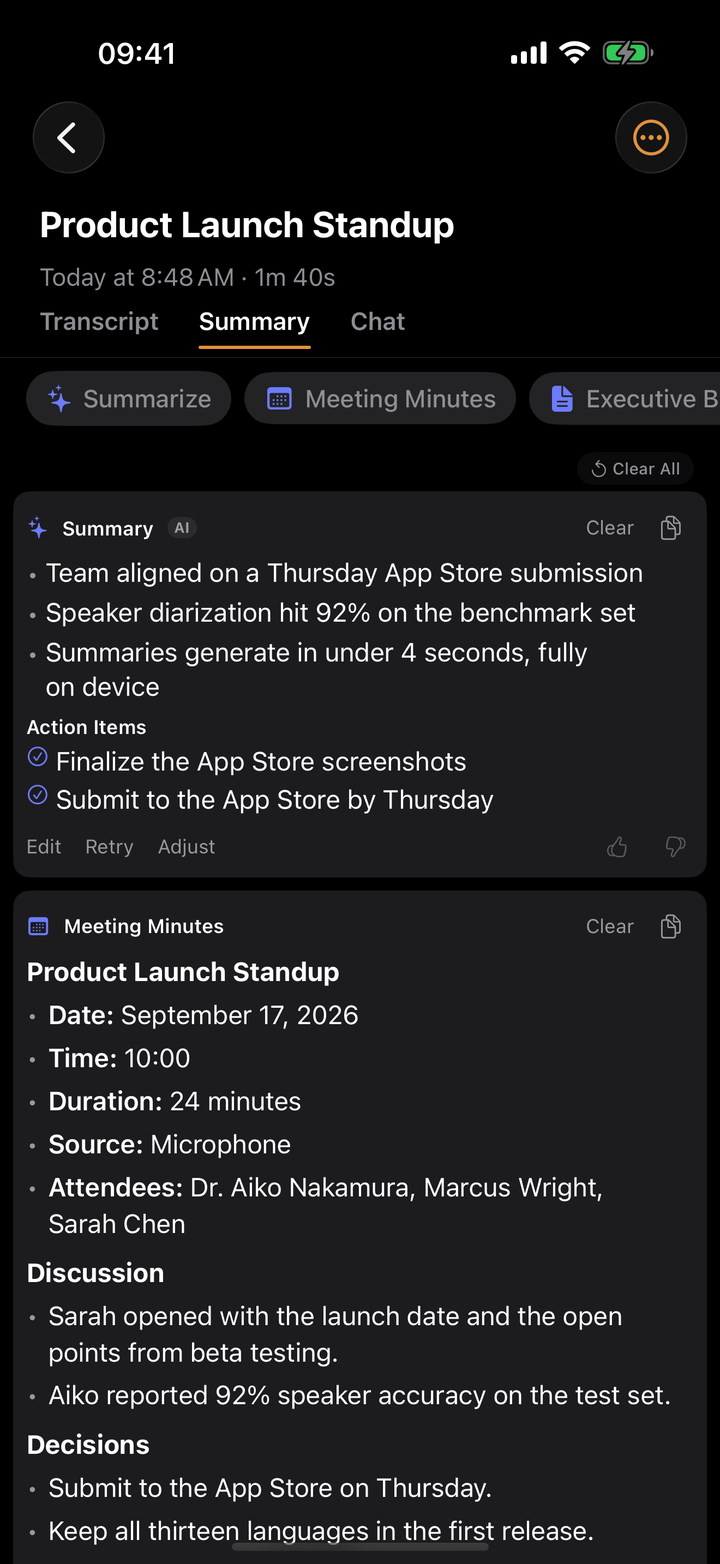
To get meeting minutes from a recording, record the meeting in ThinkScribe, let it make the transcript, then choose Meeting Minutes. For a shorter write-up with a list of who does what, choose Summarize: the summary includes an Action Items list. Each point carries a citation you can tap to check it against what was actually said.
That saves the hour it takes to write minutes by hand, and you can check every point in seconds. Transcription and speaker labels happen on your device, and your recordings and transcripts are never sent to us.
This guide walks through the whole job: recording so the minutes come out well, naming speakers, generating and checking the minutes, and sending them.
How to make meeting minutes from a recording in ThinkScribe
- Record the meeting. On iPhone, tap record on the Record tab and put the phone in the middle of the table. On Mac, record with both Microphone and System audio on so both sides of a call are captured.
- Stop and wait for the transcript. ThinkScribe shows "Transcribing..." and then "Identifying speakers...". Open the recording when it is ready.
- Name the speakers. Long-press a speaker badge, choose Rename Speaker... and type the name. Every line by that voice updates.
- Choose Meeting Minutes on the recording. For a summary with action items instead, choose Summarize.
- Check the points that matter. Tap a citation to jump to the transcript line and play it.
- Shape the result. Try again for a fresh version, or Edit to change the wording yourself.
- Share it with the people who were in the meeting.
Always follow local law and get everyone's consent before you record a meeting.
Step 1: record so the minutes come out right
Minutes are only as good as the transcript under them, and the transcript is only as good as the audio.
In a room, on iPhone. Put the phone flat in the middle of the table, not in front of one person. Pick the meeting's language on the language chip before you start. The recording keeps going if you switch apps.
On a call, on Mac. Turn on both Microphone and System audio in the record bar, or choose Record Meeting (Mic + App) from the menu bar. That captures your voice and everyone on Zoom, Teams, FaceTime or any other app, with no bot joining the call. Notify when call starts in Settings > Recording can remind you to record. Details in record a Zoom, Teams or Meet call on Mac.
Step 2: name the speakers
Minutes that say "Speaker 2 agreed to send the budget" are not much use. Naming the speakers before you generate minutes means decisions and action items come out with real names.
Long-press a speaker badge in the transcript and choose Rename Speaker.... Pick a name from Known Speakers or type a new one. Once a voice is named, ThinkScribe recognizes it automatically in new recordings, so the people in your weekly meeting are named from the second week on. See speaker identification for merging, fixing wrong labels and adding a voice ahead of time.
Step 3: choose the right output
A recording offers four kinds of result:
- Summarize: the main points of the meeting, plus an Action Items list. The quickest thing to send after a routine meeting.
- Meeting Minutes: a structured record of the meeting, closer to formal minutes. Use it for board meetings, committees, client meetings and anything someone may look up later.
- Executive Brief: a short version for someone who was not there and needs the outcome, not the discussion.
- Mind Map: the topics and how they connect, as a map you can switch to an outline. On iPhone it needs a recent model with more memory; on Mac it is its own tab.
On Mac, the workspace also has an Action Items tab, and View > Summarize (⇧⌘S) starts a summary from the keyboard.
Step 4: check it against the recording
AI summaries can get details wrong: a date, a name, who agreed to what. The citations are there so you can check quickly.
Each summary bullet has a citation. Tap it to jump to the line in the transcript, then tap the line to play the audio from that point. Check the items people will act on: decisions, owners, deadlines, numbers. It takes a minute, and it means the minutes you send are right.
If a point is missing, ask the recording directly, for example "What did we decide about the supplier?" or "Did anyone agree to call the client?".
Step 5: adjust or edit
Every result has the same controls:
- Retry makes a new version from scratch.
- Edit lets you change the text yourself, for example to add a point that was agreed after the recording stopped.
- Thumbs up or down rates the result.
Step 6: share the minutes
To send the minutes in an email or paste them into your team's notes, open Edit, select the text and copy it.
To share a full record, open the transcript's ... menu, choose Export, and pick PDF or Markdown. On Mac you can also export a Word Document or use Share to Notes. See export a transcript for every format.
Let summaries write themselves
Summarize right after the meeting, while you still remember the context, and choose Meeting Minutes when you need the fuller version.
What good meeting minutes contain
Whatever you generate, good minutes answer the same questions. Use this as a checklist before you send them:
- Meeting details: title, date, who was there.
- Purpose: one line on why the meeting happened.
- Discussion: the main topics, one short paragraph or a few bullets each.
- Decisions: what was agreed, stated plainly.
- Action items: owner, task and deadline, one per line.
- Open questions: what was raised but not settled.
- Next meeting: date and topics, if agreed.
If something is missing from the generated minutes, it may not have been said clearly in the meeting. Ask in Chat, or add it with Edit.
Choose which AI writes the minutes
In Settings > AI Assistant, choose Apple Intelligence (provided by Apple, on devices that support it) or ThinkScribe AI (a one-time download that runs on your device). Your transcripts are never sent to us.
For the other things you can do with a recording, see voice to text on iPhone, iPad and Mac: the complete guide and meeting transcription with ThinkScribe.
Frequently asked questions
How do I turn a meeting recording into minutes?
Record or import the meeting in ThinkScribe and wait for the transcript. Name the speakers, then choose Meeting Minutes. Check key points with the citations and share the result.
How do I get action items from a meeting recording?
Open the recording and choose Summarize. The summary includes an Action Items list. Name the speakers first so each action item has a real name, and tap a citation to check an item against the transcript.
Can I edit the minutes before I send them?
Yes. Every result has Edit to change the text yourself, Adjust to make it shorter, more detailed, simpler or more formal, and Retry for a fresh version.
Can I record a Zoom or Teams meeting for minutes?
Yes, on Mac. Turn on both Microphone and System audio in the record bar, or choose Record Meeting (Mic + App) from the menu bar. No bot joins the call. Get everyone's consent before recording.
Can I export minutes to Word?
The Mac app exports Word documents, as well as PDF and Markdown. On iPhone and iPad, export PDF or Markdown instead, since Word export is not available there.